*These instructions are for PVC, TPO, and KEE mechanically attached or fully adhered roof systems.
Before You Start:
Inspect the existing roof with a qualified professional to ensure that it is in good condition and meets local codes and manufacturer’s warranty requirements. Weldability of the membrane should be verified when determining suitability of the roof. Contact nVent Customer Care for a list of qualified installation professionals.
Layout:
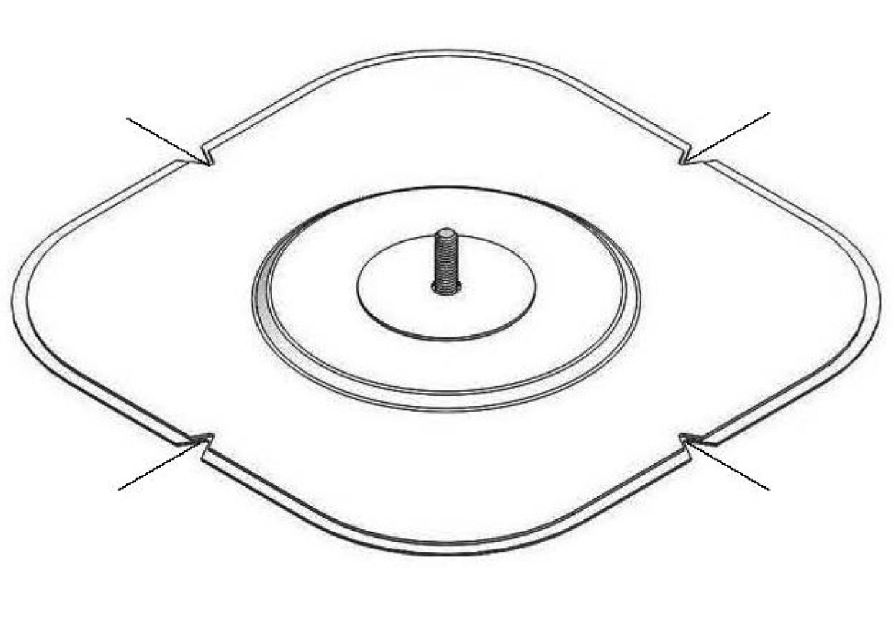
Appropriate frequency and spacing of the attachment points should be determined by a qualified professional for seismic requirements, compressive strength of the roofing assembly, structural load capacity, and local building code requirements. Installation should be done by a qualified professional to maintain roof warranty requirements. Convey the designed layout onto the roof surface, creating crosshatches. Pair the alignment marks on each side of the anchor with the crosshatches previously prepared on the roof surface. Clean the surface where CRAU24XXXX will be adhered to the roof with a manufacturer approved cleaner. Prior to adhering the Anchor mount into place, be sure the placement is accurate.
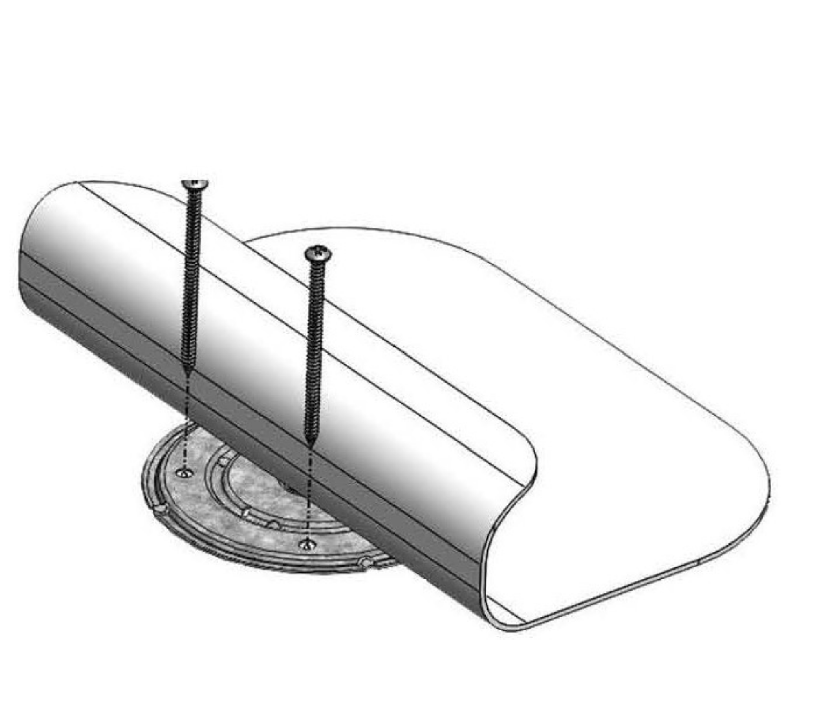
Step 1: Once properly aligned, fasten the plate to the deck with the approved fasteners from nVent. Use 8 screws, purchased seperately.

Step 2: Tack weld around the plate.

Step 3: Hot air weld the perimeter edge of the target to the corresponding fully adhered roof surface with a 2″ wide weld. Apply seam sealant, if needed, in accordance with roof manufacturer’s instructions.

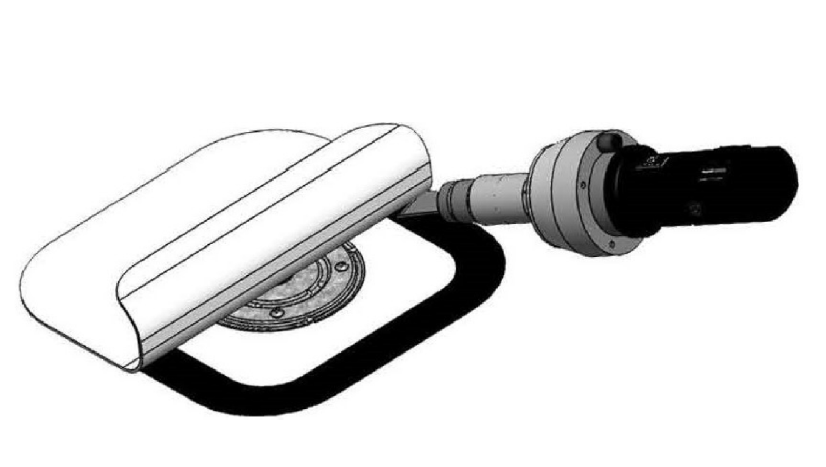
Step 4: Install ancillary components using a stainless steel 3/8”-16 nut and lock washer. The recommended torque for the CRAU24XXXX is 20\25 ft lbs.
