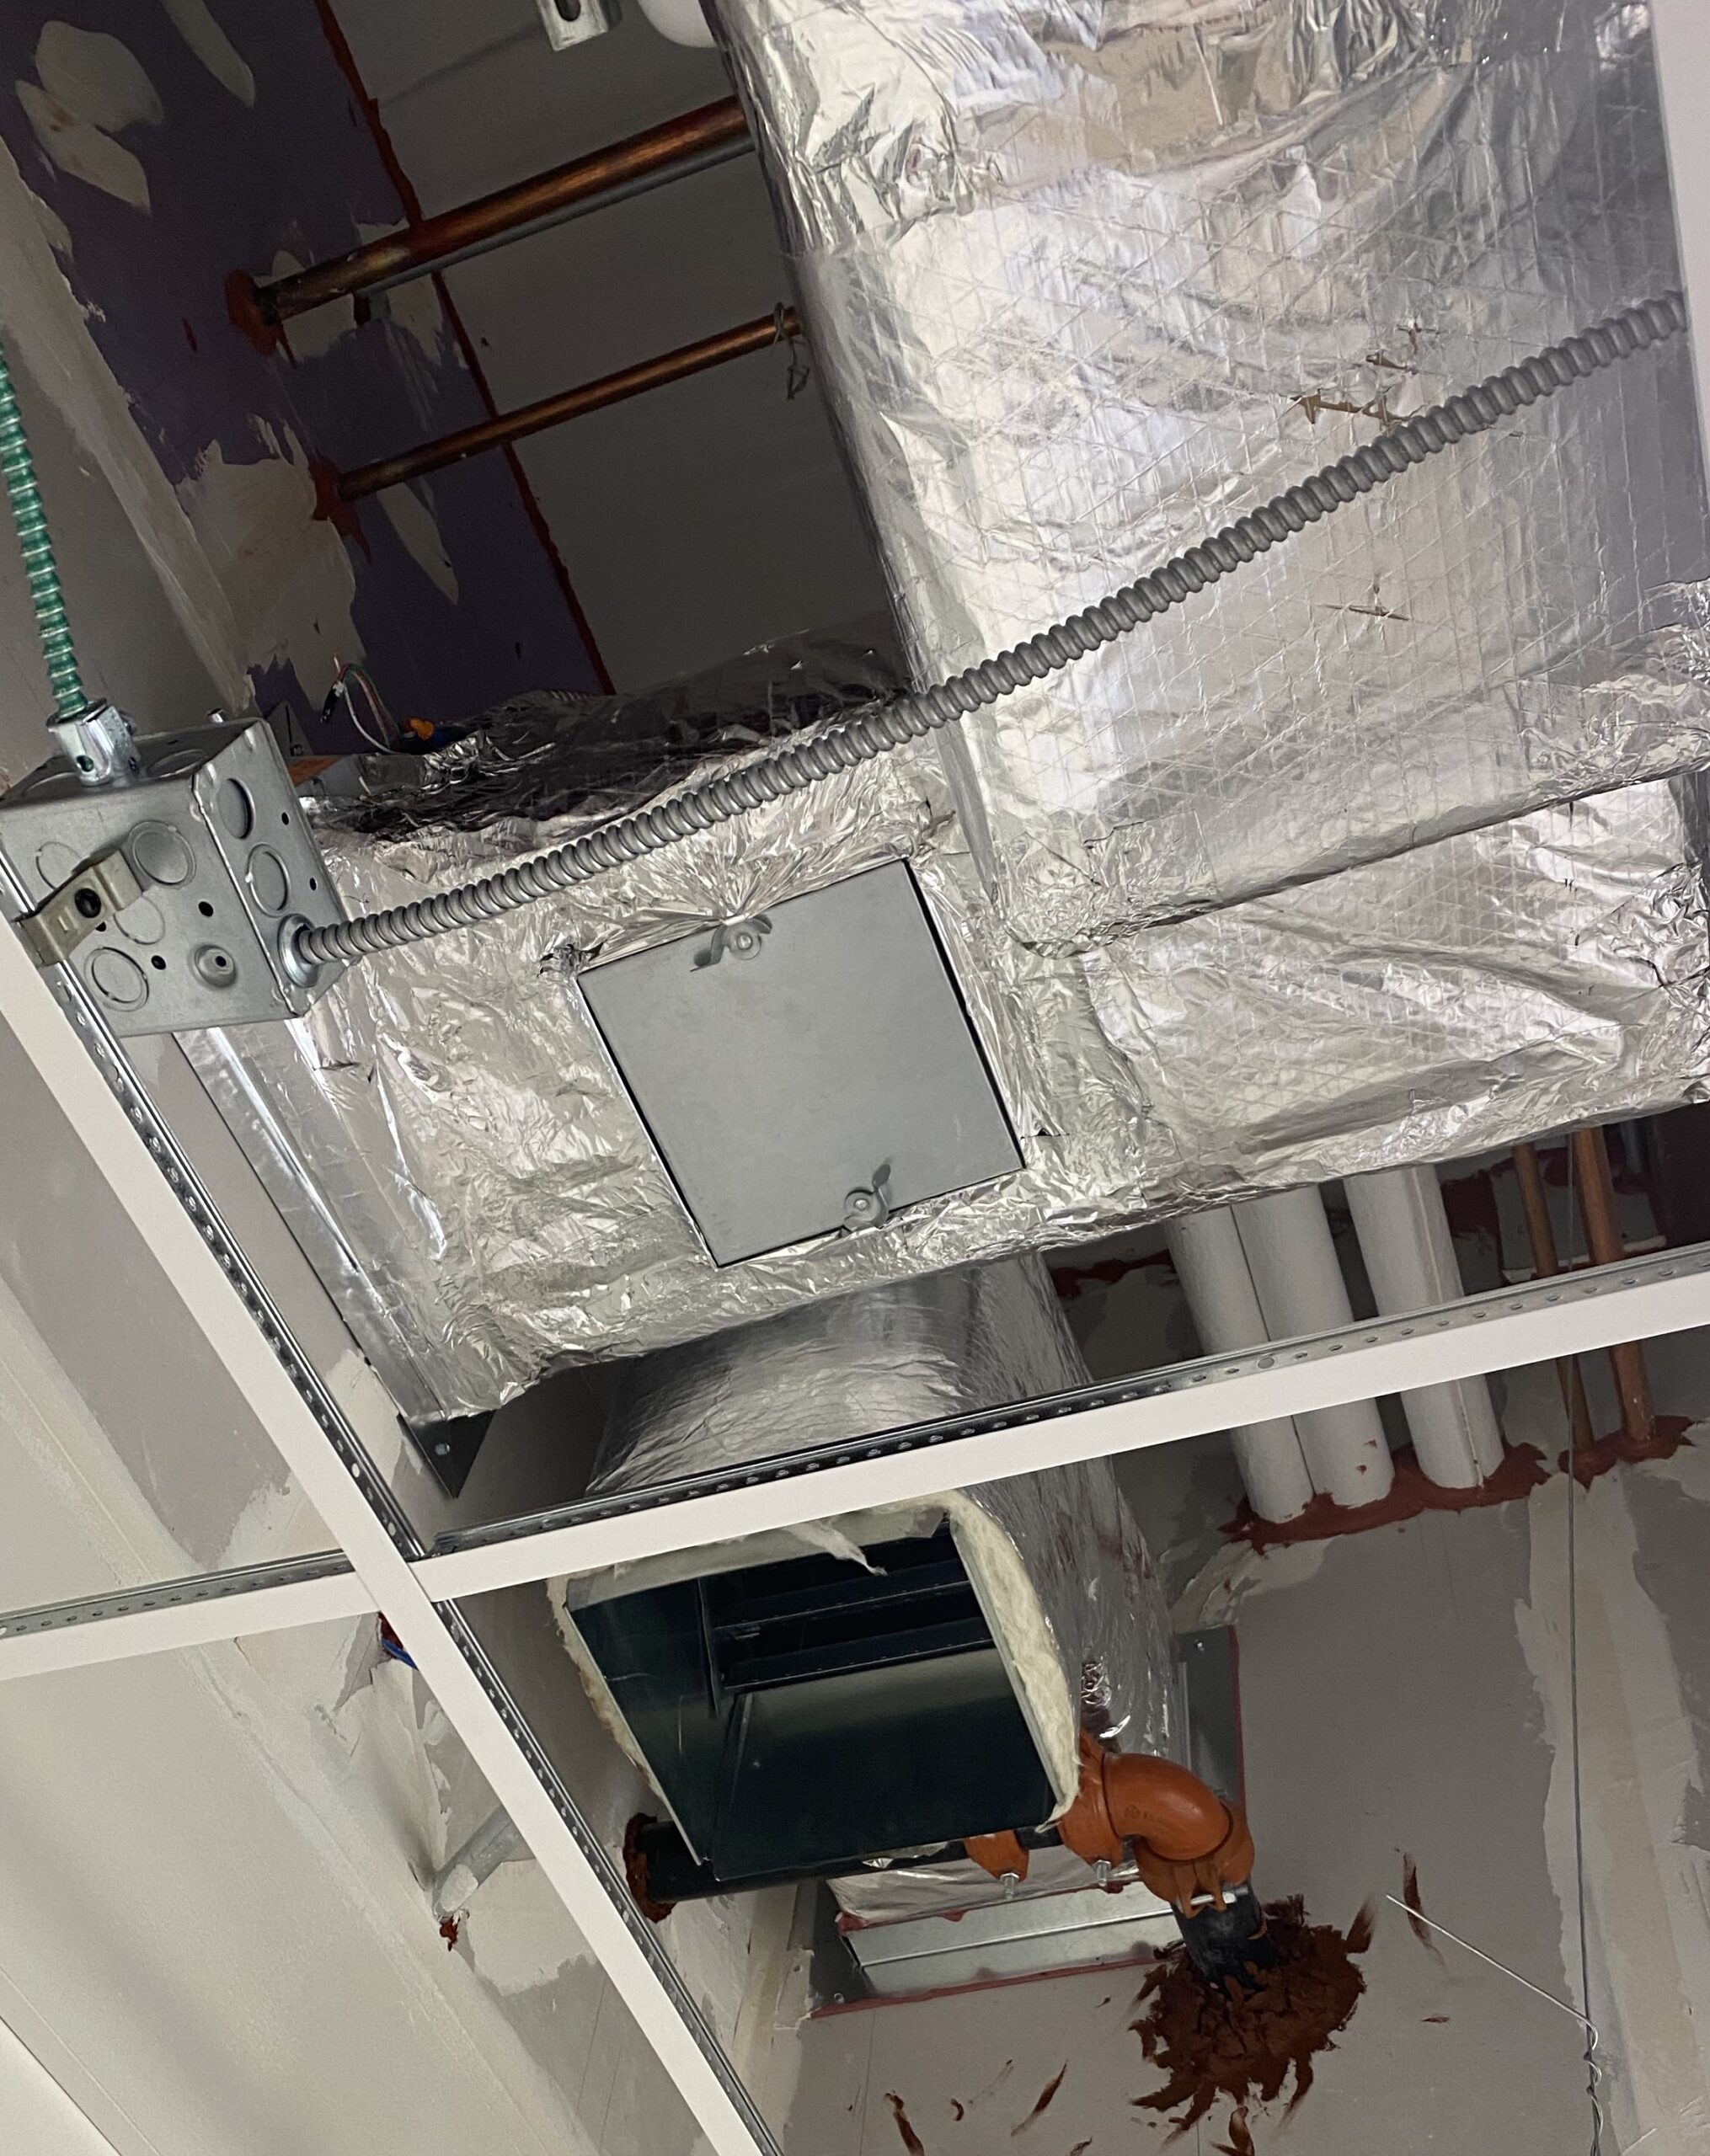
Duct Access Doors are placed in the ductwork, often in the sidewall for easier removal and clearer line of sight, to give access inside the duct. This access is most essential during the inspection process when ensuring that the fire dampers are functional; in fact many Air Distribution plans refer to these as “Access Doors for Sheet Metal Duct for Fire Dampers”.
During inspection, most inspectors will want the fusible link pulled to drop the fire damper and hear it slam shut, making sure that it isn’t twisted or bound up where it won’t fall when needed.
After the inspection process, entry inside the duct wall might be rare, however components inside ductwork do occasionally need re-tested, repaired or replaced and some ductwork gets interior cleaning.
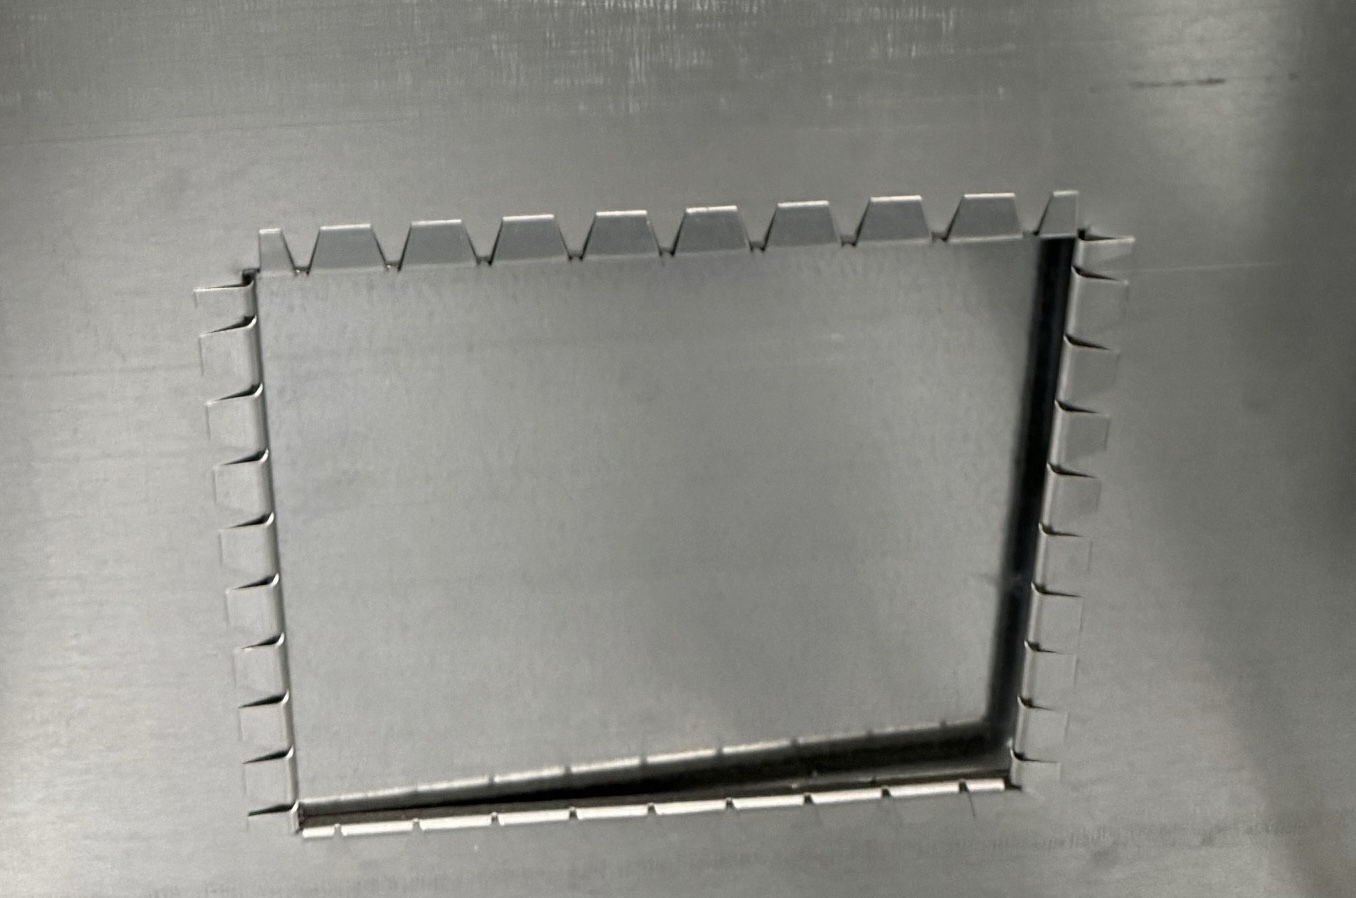
Such Access Doors used on low to medium pressure ductwork are typically square framed with a 1″ Insulation inside the door, a door which either opens for access by means of either a Hinge on one side and Cam on the other or is removed for access by having Cams on either side. These doors typically have a 1/2″ wide neoprene or synthetic gasket around the frame and tabs that get folded back over this gasketed frame during installation. Because the Tabs play a main role in how the Doors are installed, they are often just referred to as a Tab style door.
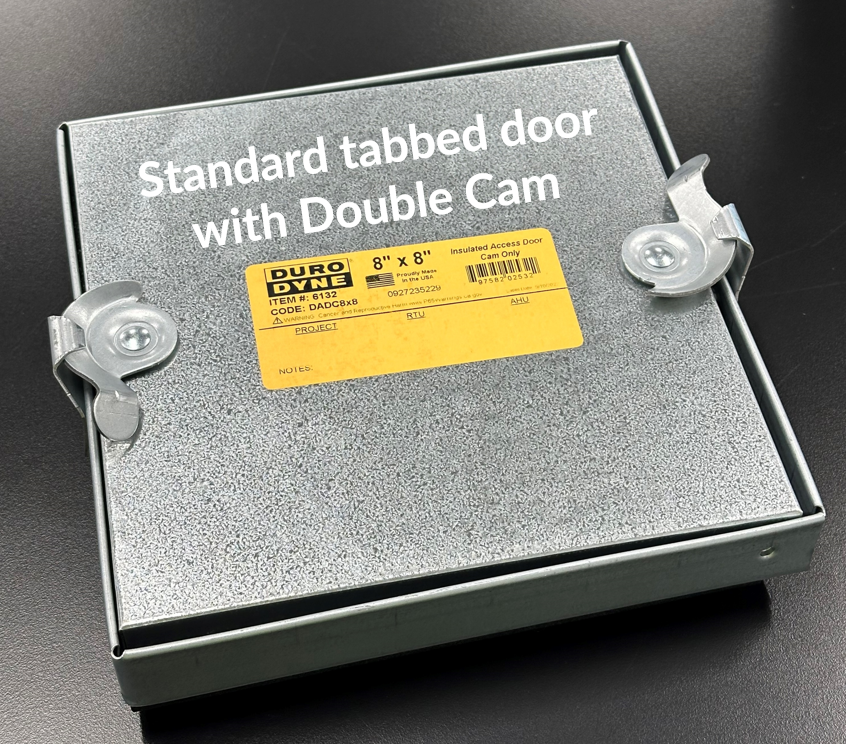
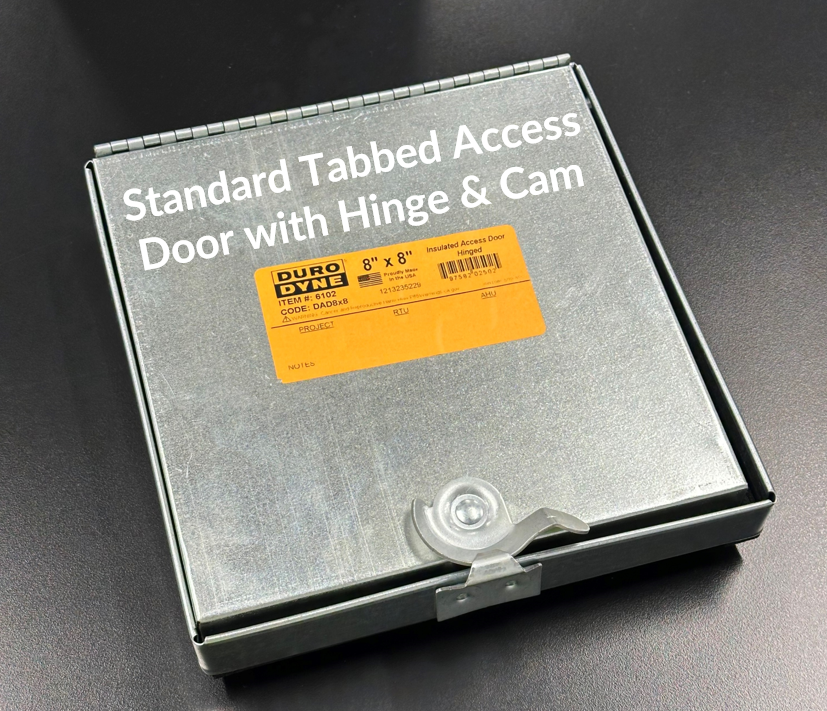
The process of installing Tabbed Access Doors lends itself to be a bottleneck in the duct installation.
Once the duct is hung, installers cut the hole into the duct, to a size that’s just a fraction larger than the door. If the hole is cut too small, it can be a challenge getting the tabs into it; if it’s cut too large, there will be a gap to fill with mastic or metal.
Typically the installer cuts the hole and then folds over a few tabs over with their fingers to get it started and held in place before taking the time to bend over all of those tabs around the door either with fingers or, if room allows, a sheet metal hammer. Depending on the size of the hole, this could be tricky, swinging into the hole. Since the gasket is on the outside, the metal tabs have to get folded over the gasket and since they fold over from wherever the tab hits the gasket, it’s often not a clean fold at the corner.
The tabs are a source of aggravation not only during the install but also during any other time that the door might need to be opened, including during the inspection when an individual has to reach inside the duct, often exposing his arm to a tab that’s not folded over completely. Though they do not have a point, the tabs are, nevertheless sharp, being a thin gauge of sheet metal which can feel like a blade on the skin.

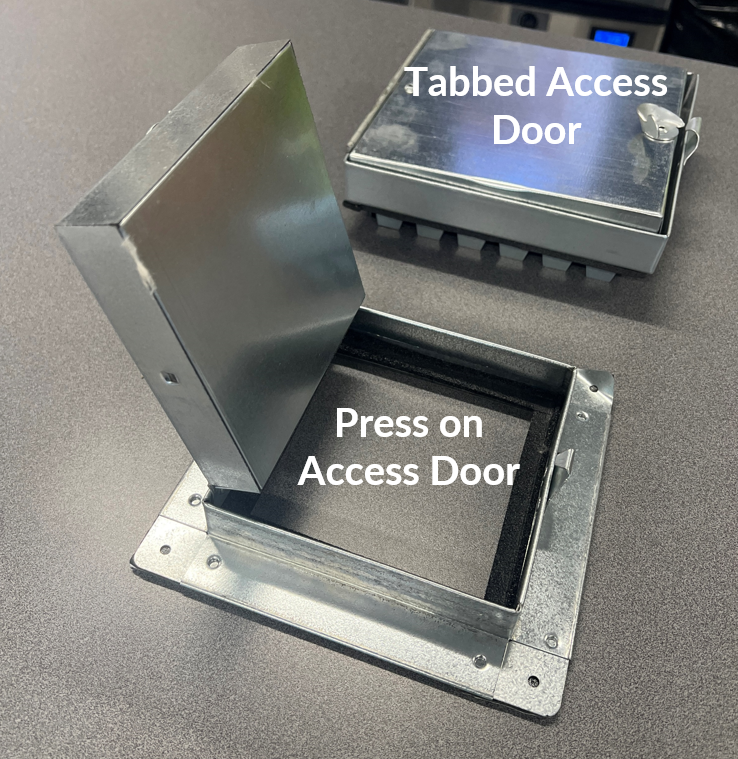
An alternative to the traditional tabbed access doors are the Self Stick, aka Press On Doors. As awareness of these doors existence increases, they are slowly but surely replacing Tabbed doors. The process for installing these Doors is the same as the Tabbed doors but because of the design of these doors the savings begins when the hole is being cut into duct.
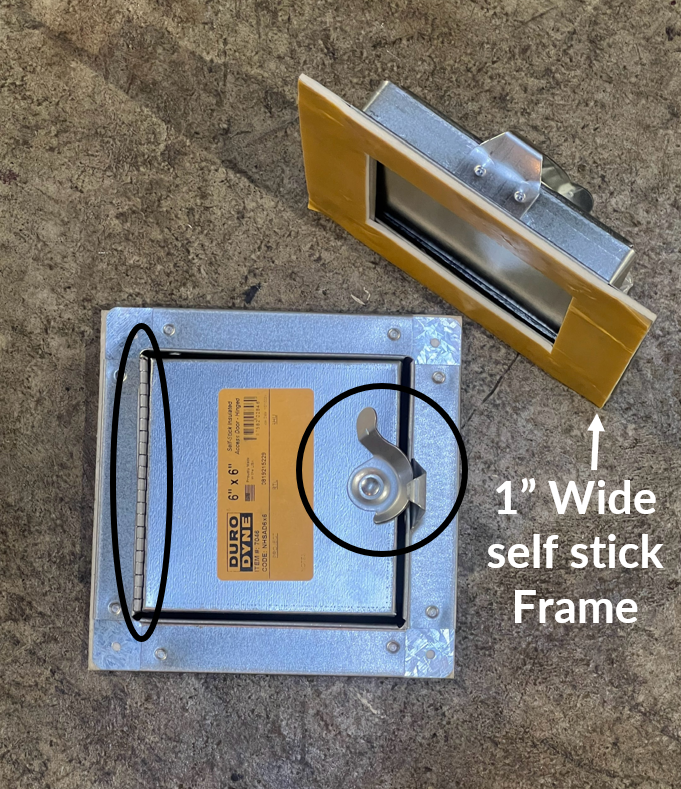
These doors have a 1″ wide Gasketed flange that frames the opening. The extra flange means that there’s less importance given to the hole being exact. The duct openings can be cut faster, rounding off the corner without having to be so precise as one would on tabbed doors. Once the hole is sized and cut in the duct, the installer peels the release paper off of the gasketed door frame and presses into position, then drills a screw through each of the 4 holes in the door’s frame.
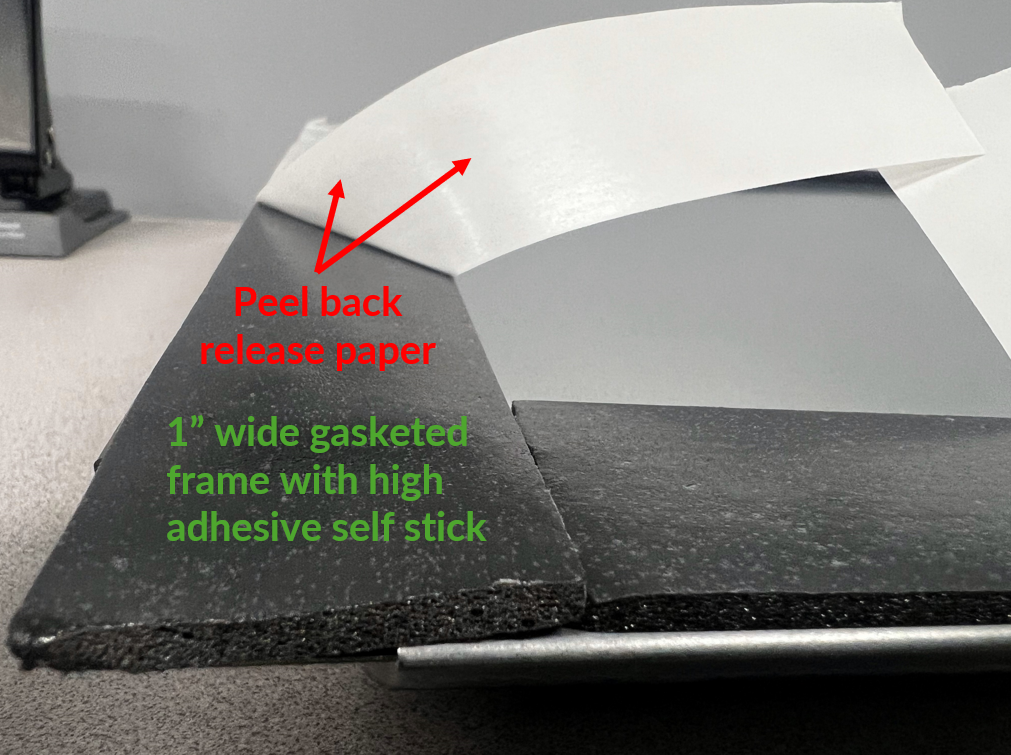
Because it has such a wide gasket area, additional sealing is not required when using the Self Stick Access Doors vs the standard Tab Style Door, in which there’s about half an inch before the hole is exposed past the outside of the door.
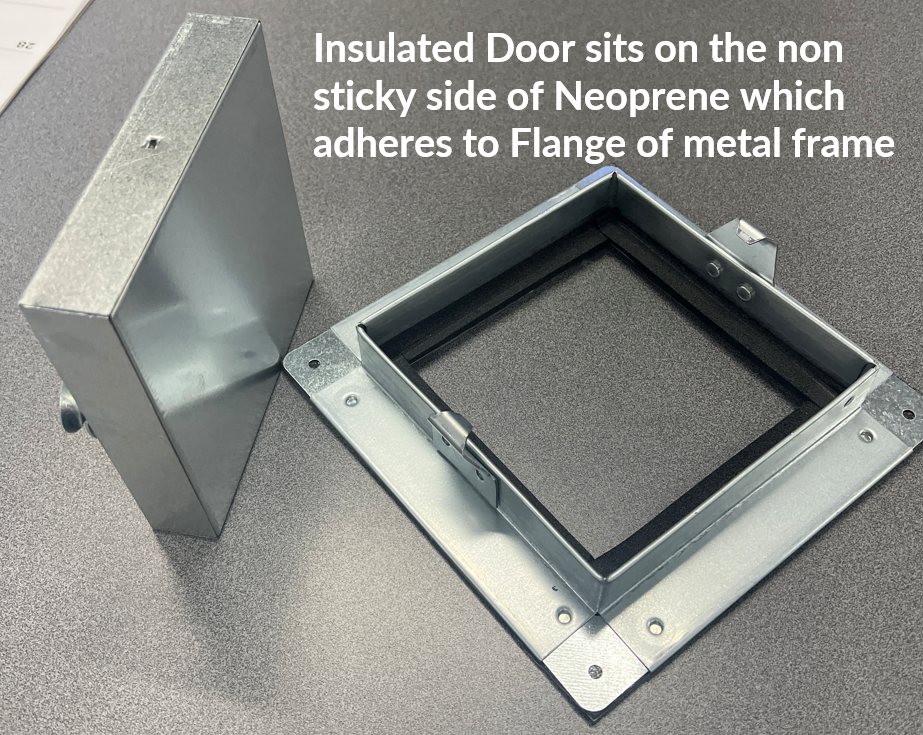
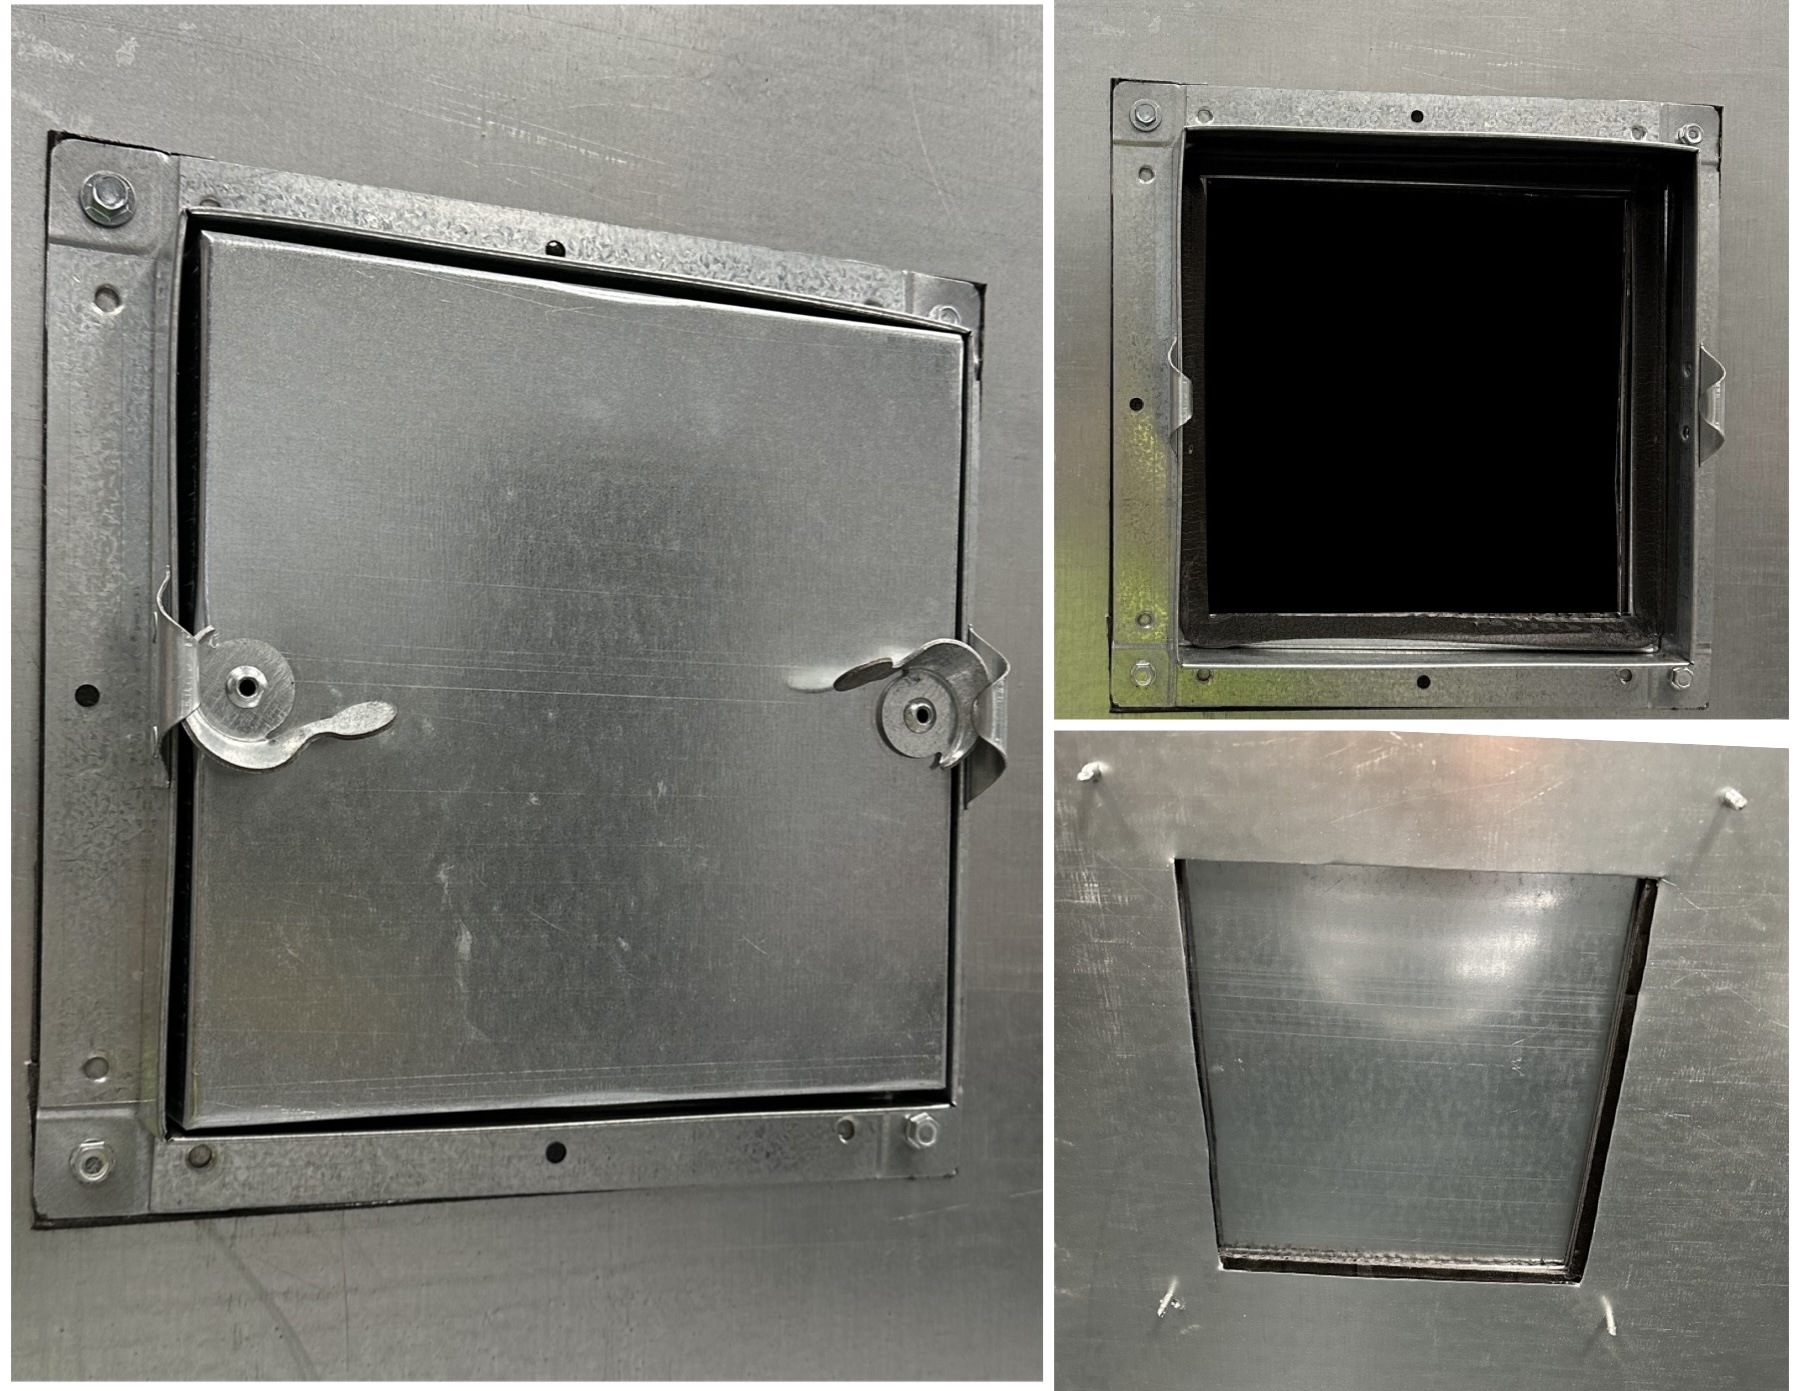
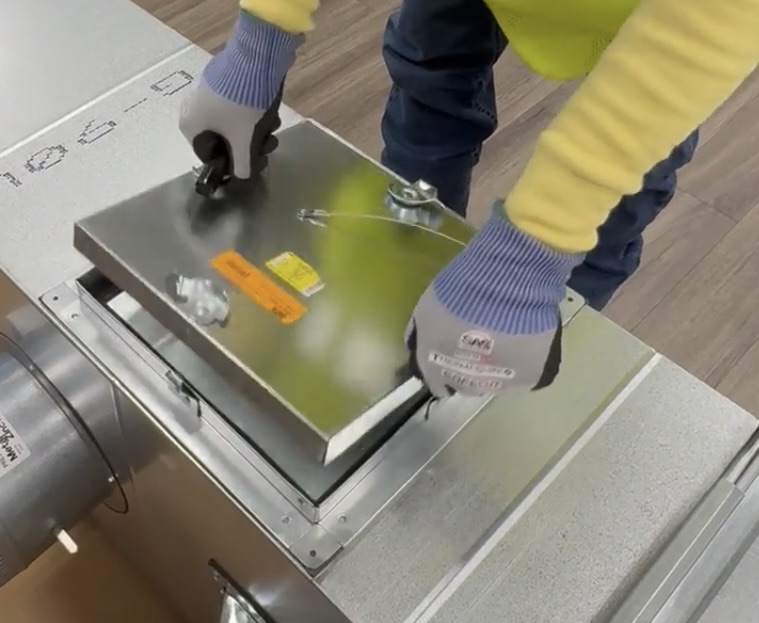
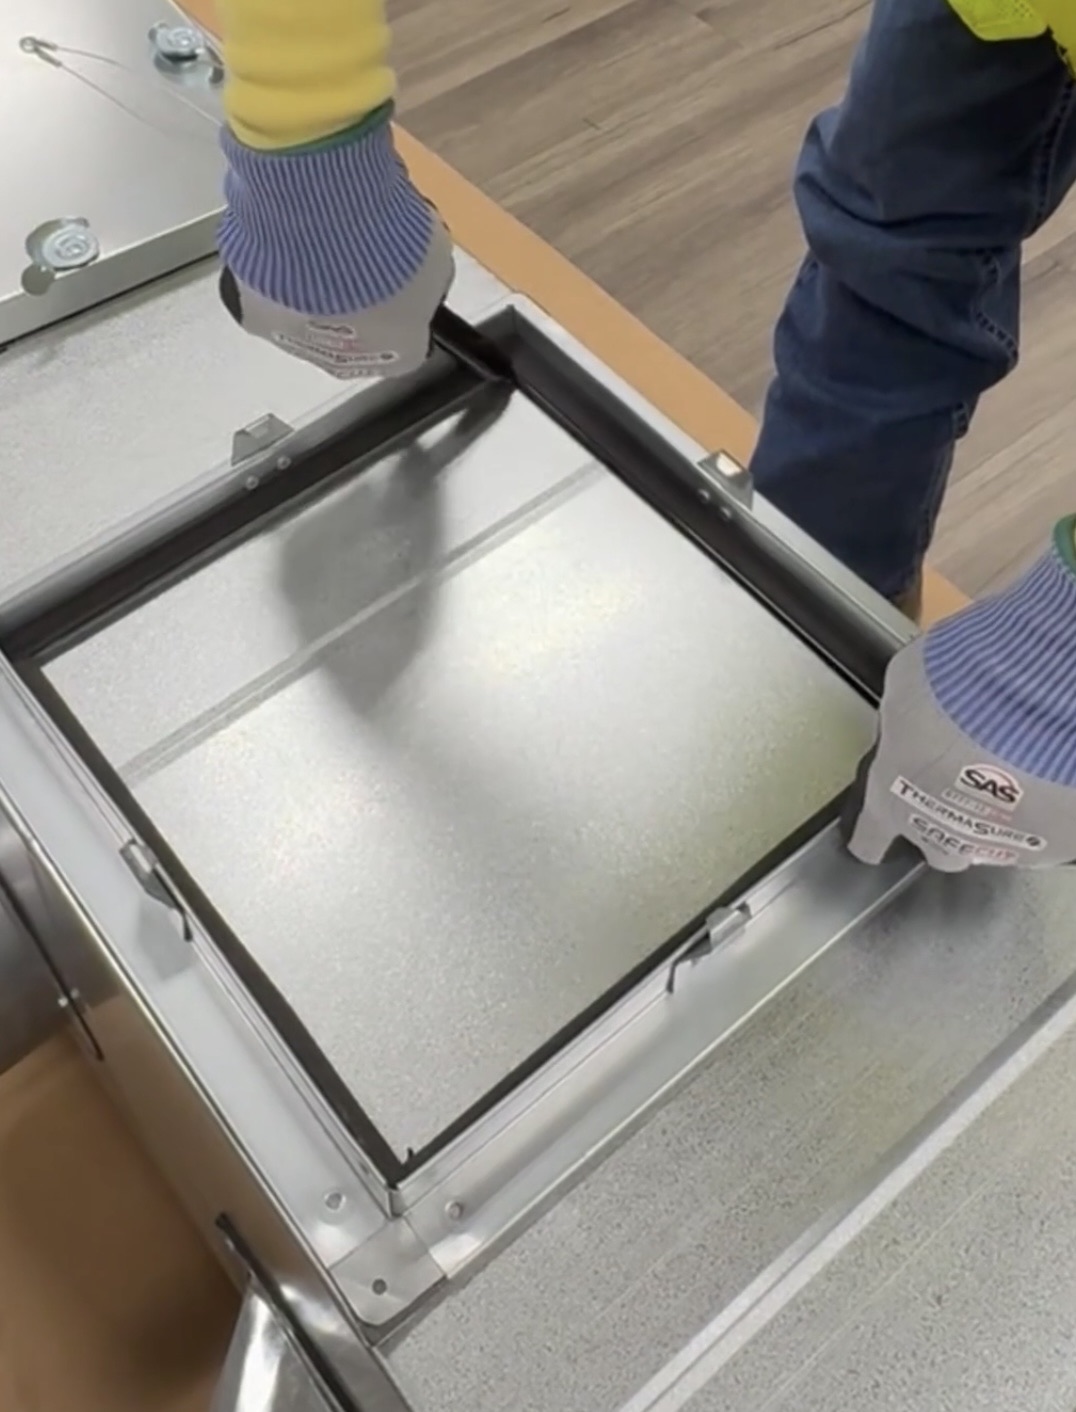
Easy Installation consists of placing the Door on duct, removing the door to trace around the frame for the hole…
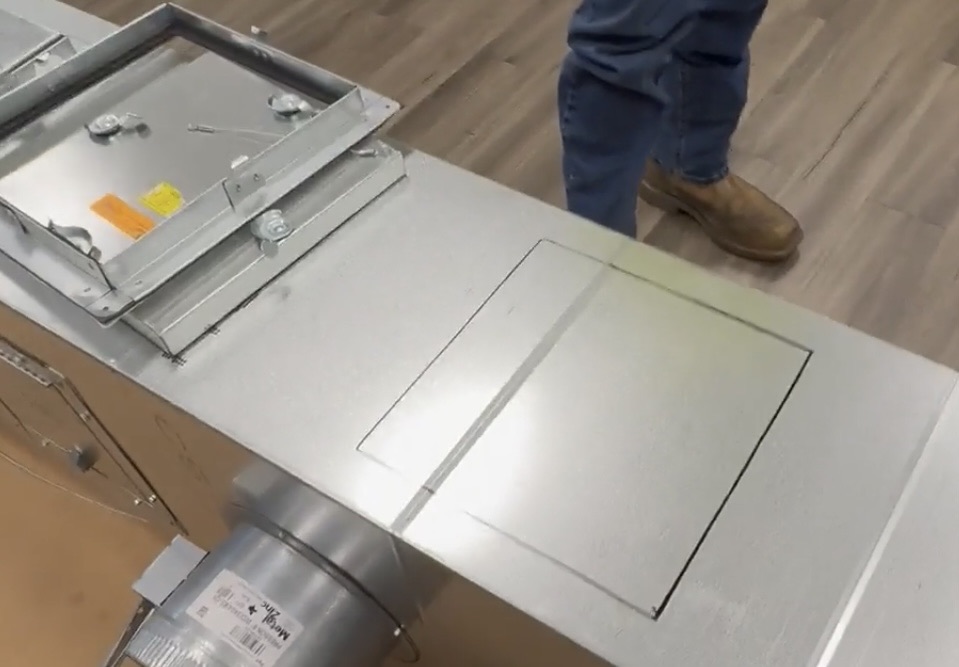
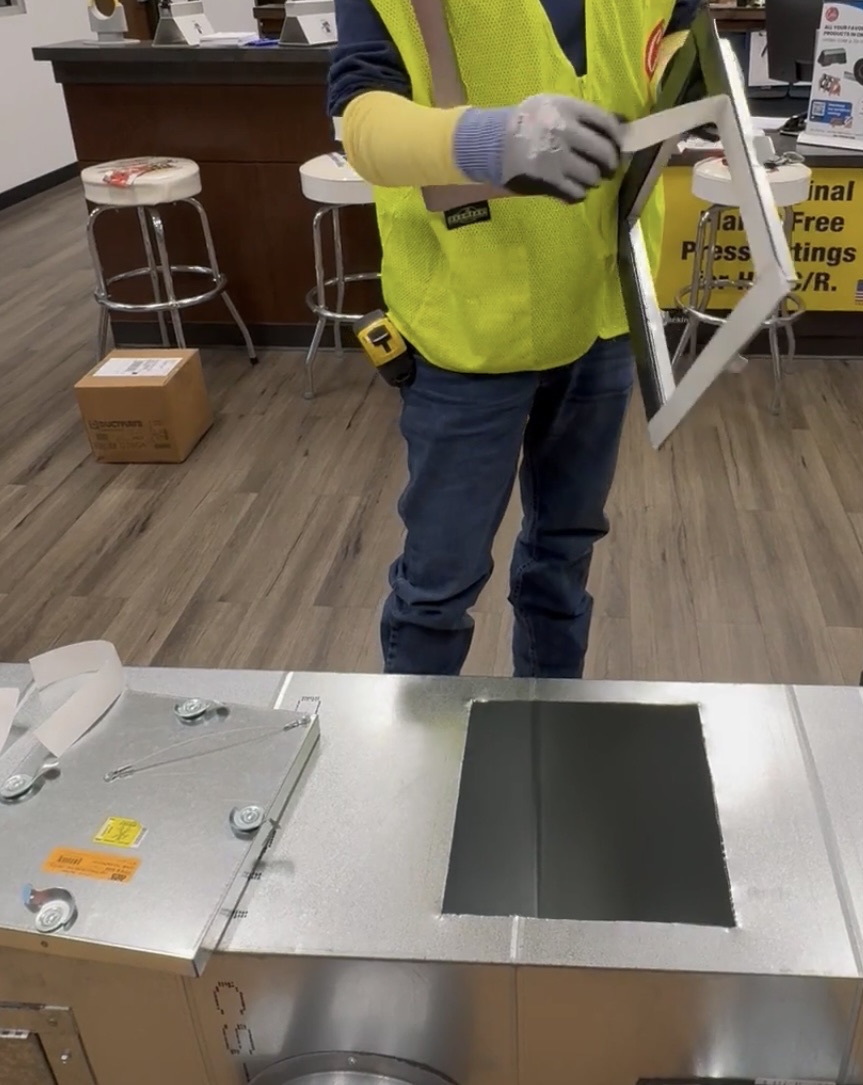
Cut hole and then take frame and remove release paper…
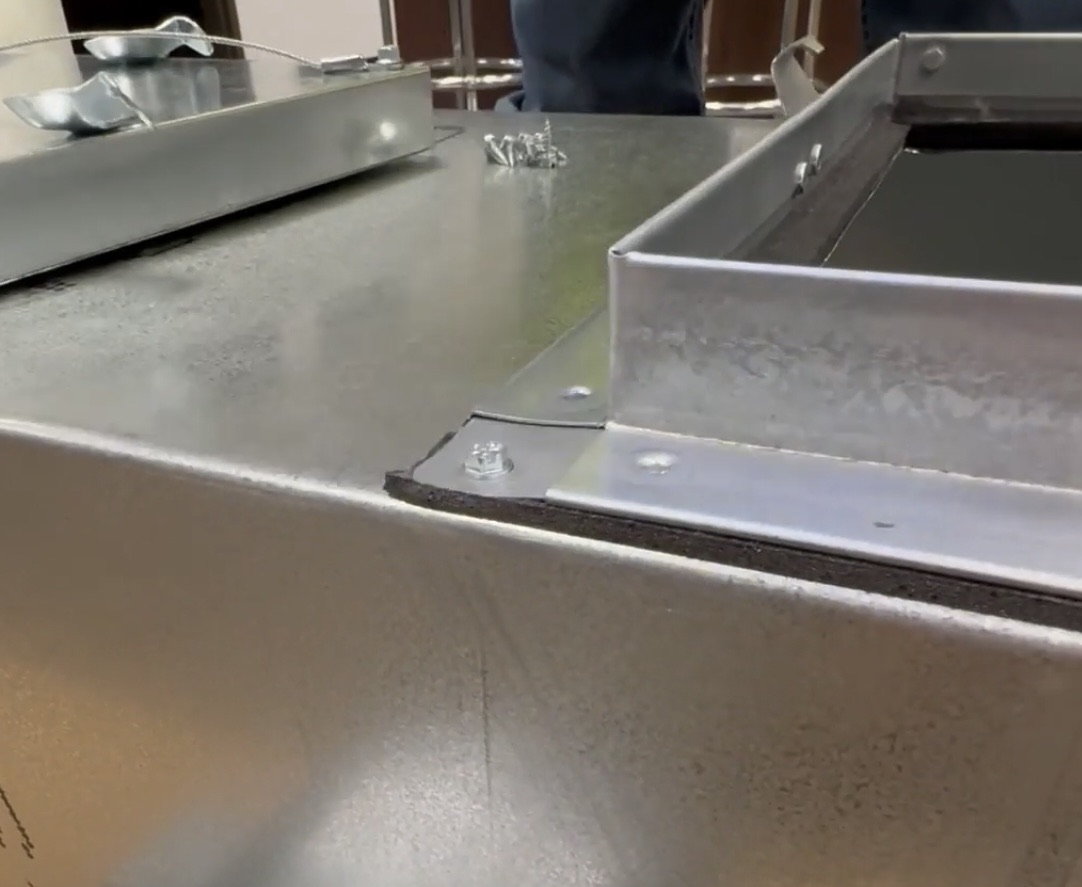
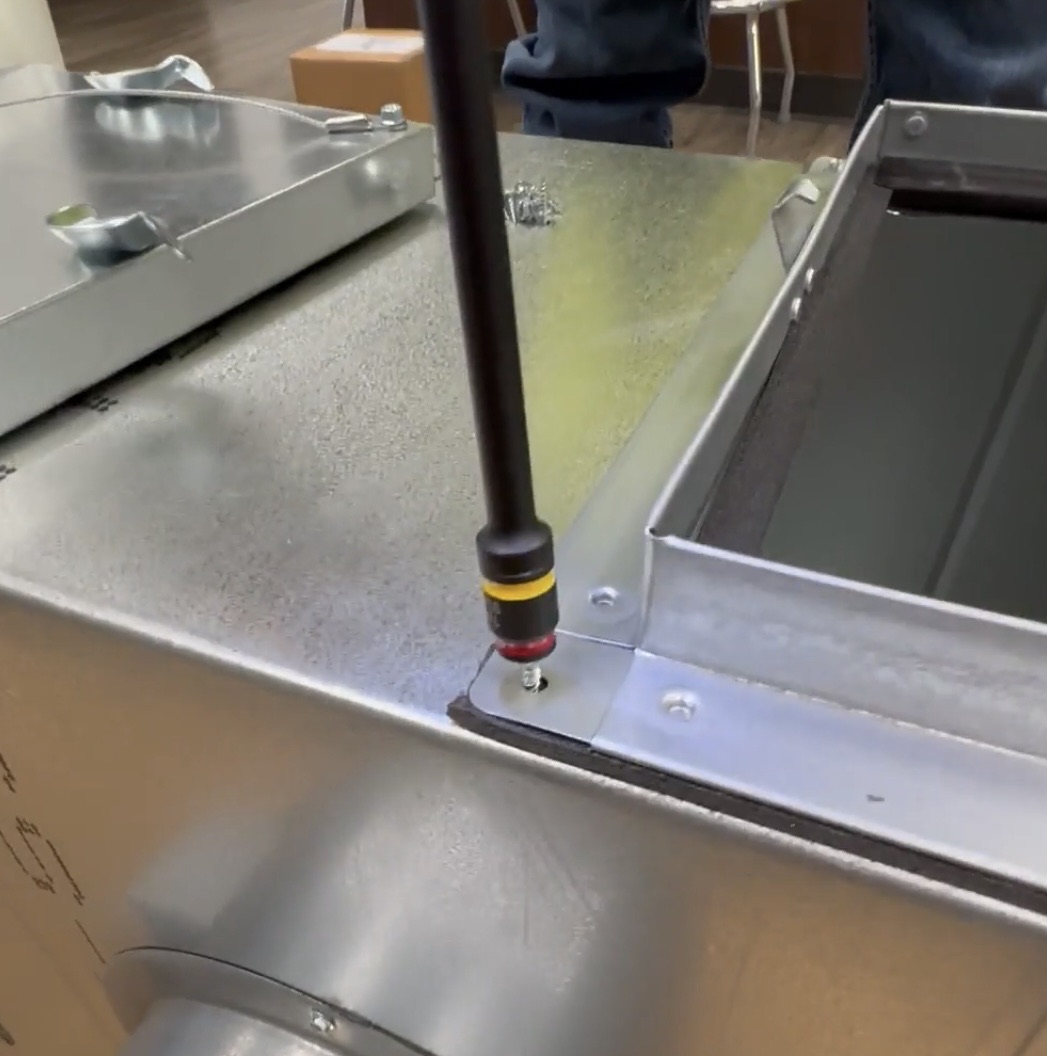
Secure frame to duct with screws in each of the four corners
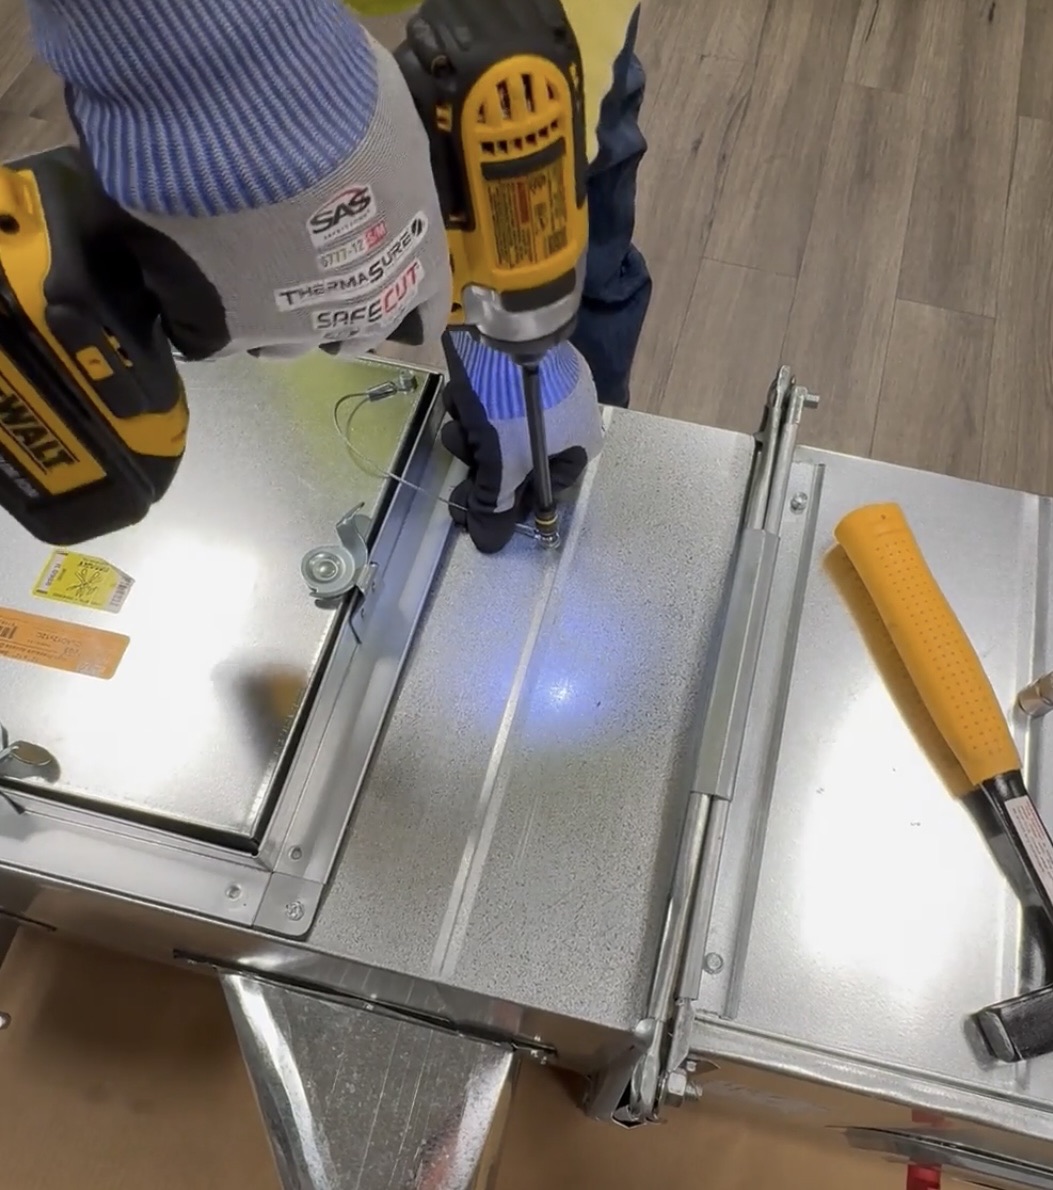
Secure safety cable to duct
